
10x Blue Cherry Shrimps + 2 Extra Shrimp with next day Shipping, Free guppy gras...

10 x HIGH GRADE yellow goldenback Cherry Shrimps + 2 Extra Shrimp with next day ...
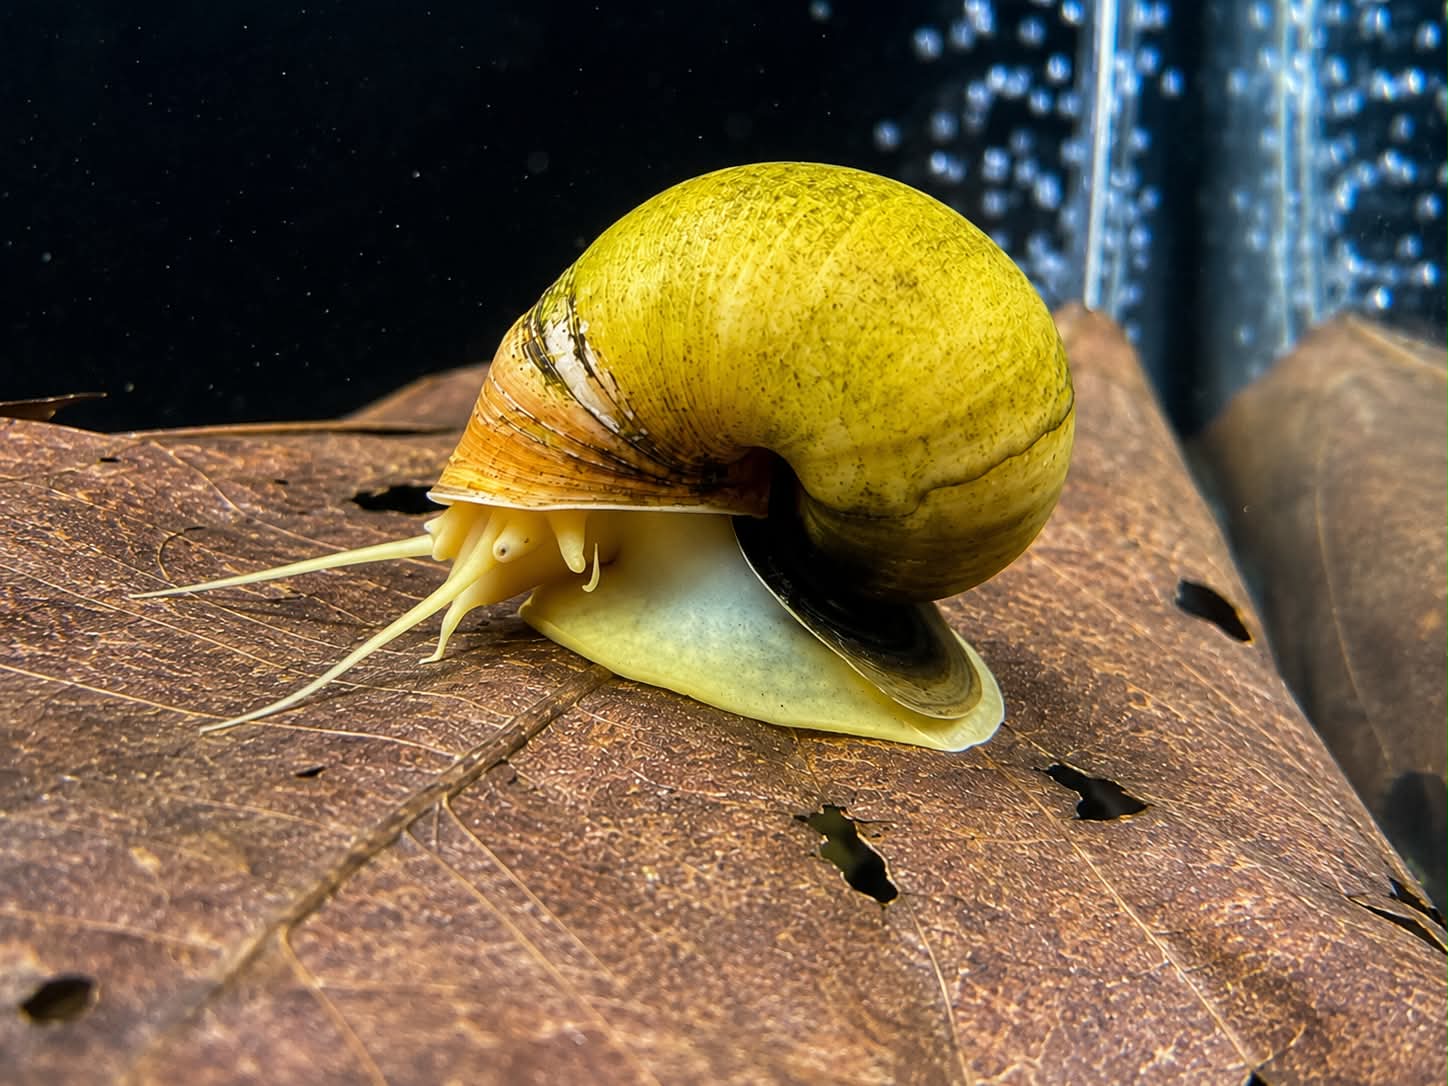
Large Golden Mystery Snail (Likely Male) – Healthy Adult – Bright Golden ShellHe...
.png)
30+2 Mix Cardina Shrimp
.jpg)
15 RED Galaxy Shrimp fishbon
10x Blue Cherry Shrimps + 2 Extra Shrimp with next day Shipping, Free guppy gras...
10 x HIGH GRADE yellow goldenback Cherry Shrimps + 2 Extra Shrimp with next day ...
Large Golden Mystery Snail (Likely Male) – Healthy Adult – Bright Golden ShellHe...

Introducing stunning betta fish, also known as Siamese fighting fish! These capt...
.png)
Introducing stunning betta fish, also known as Siamese fighting fish! These capt...
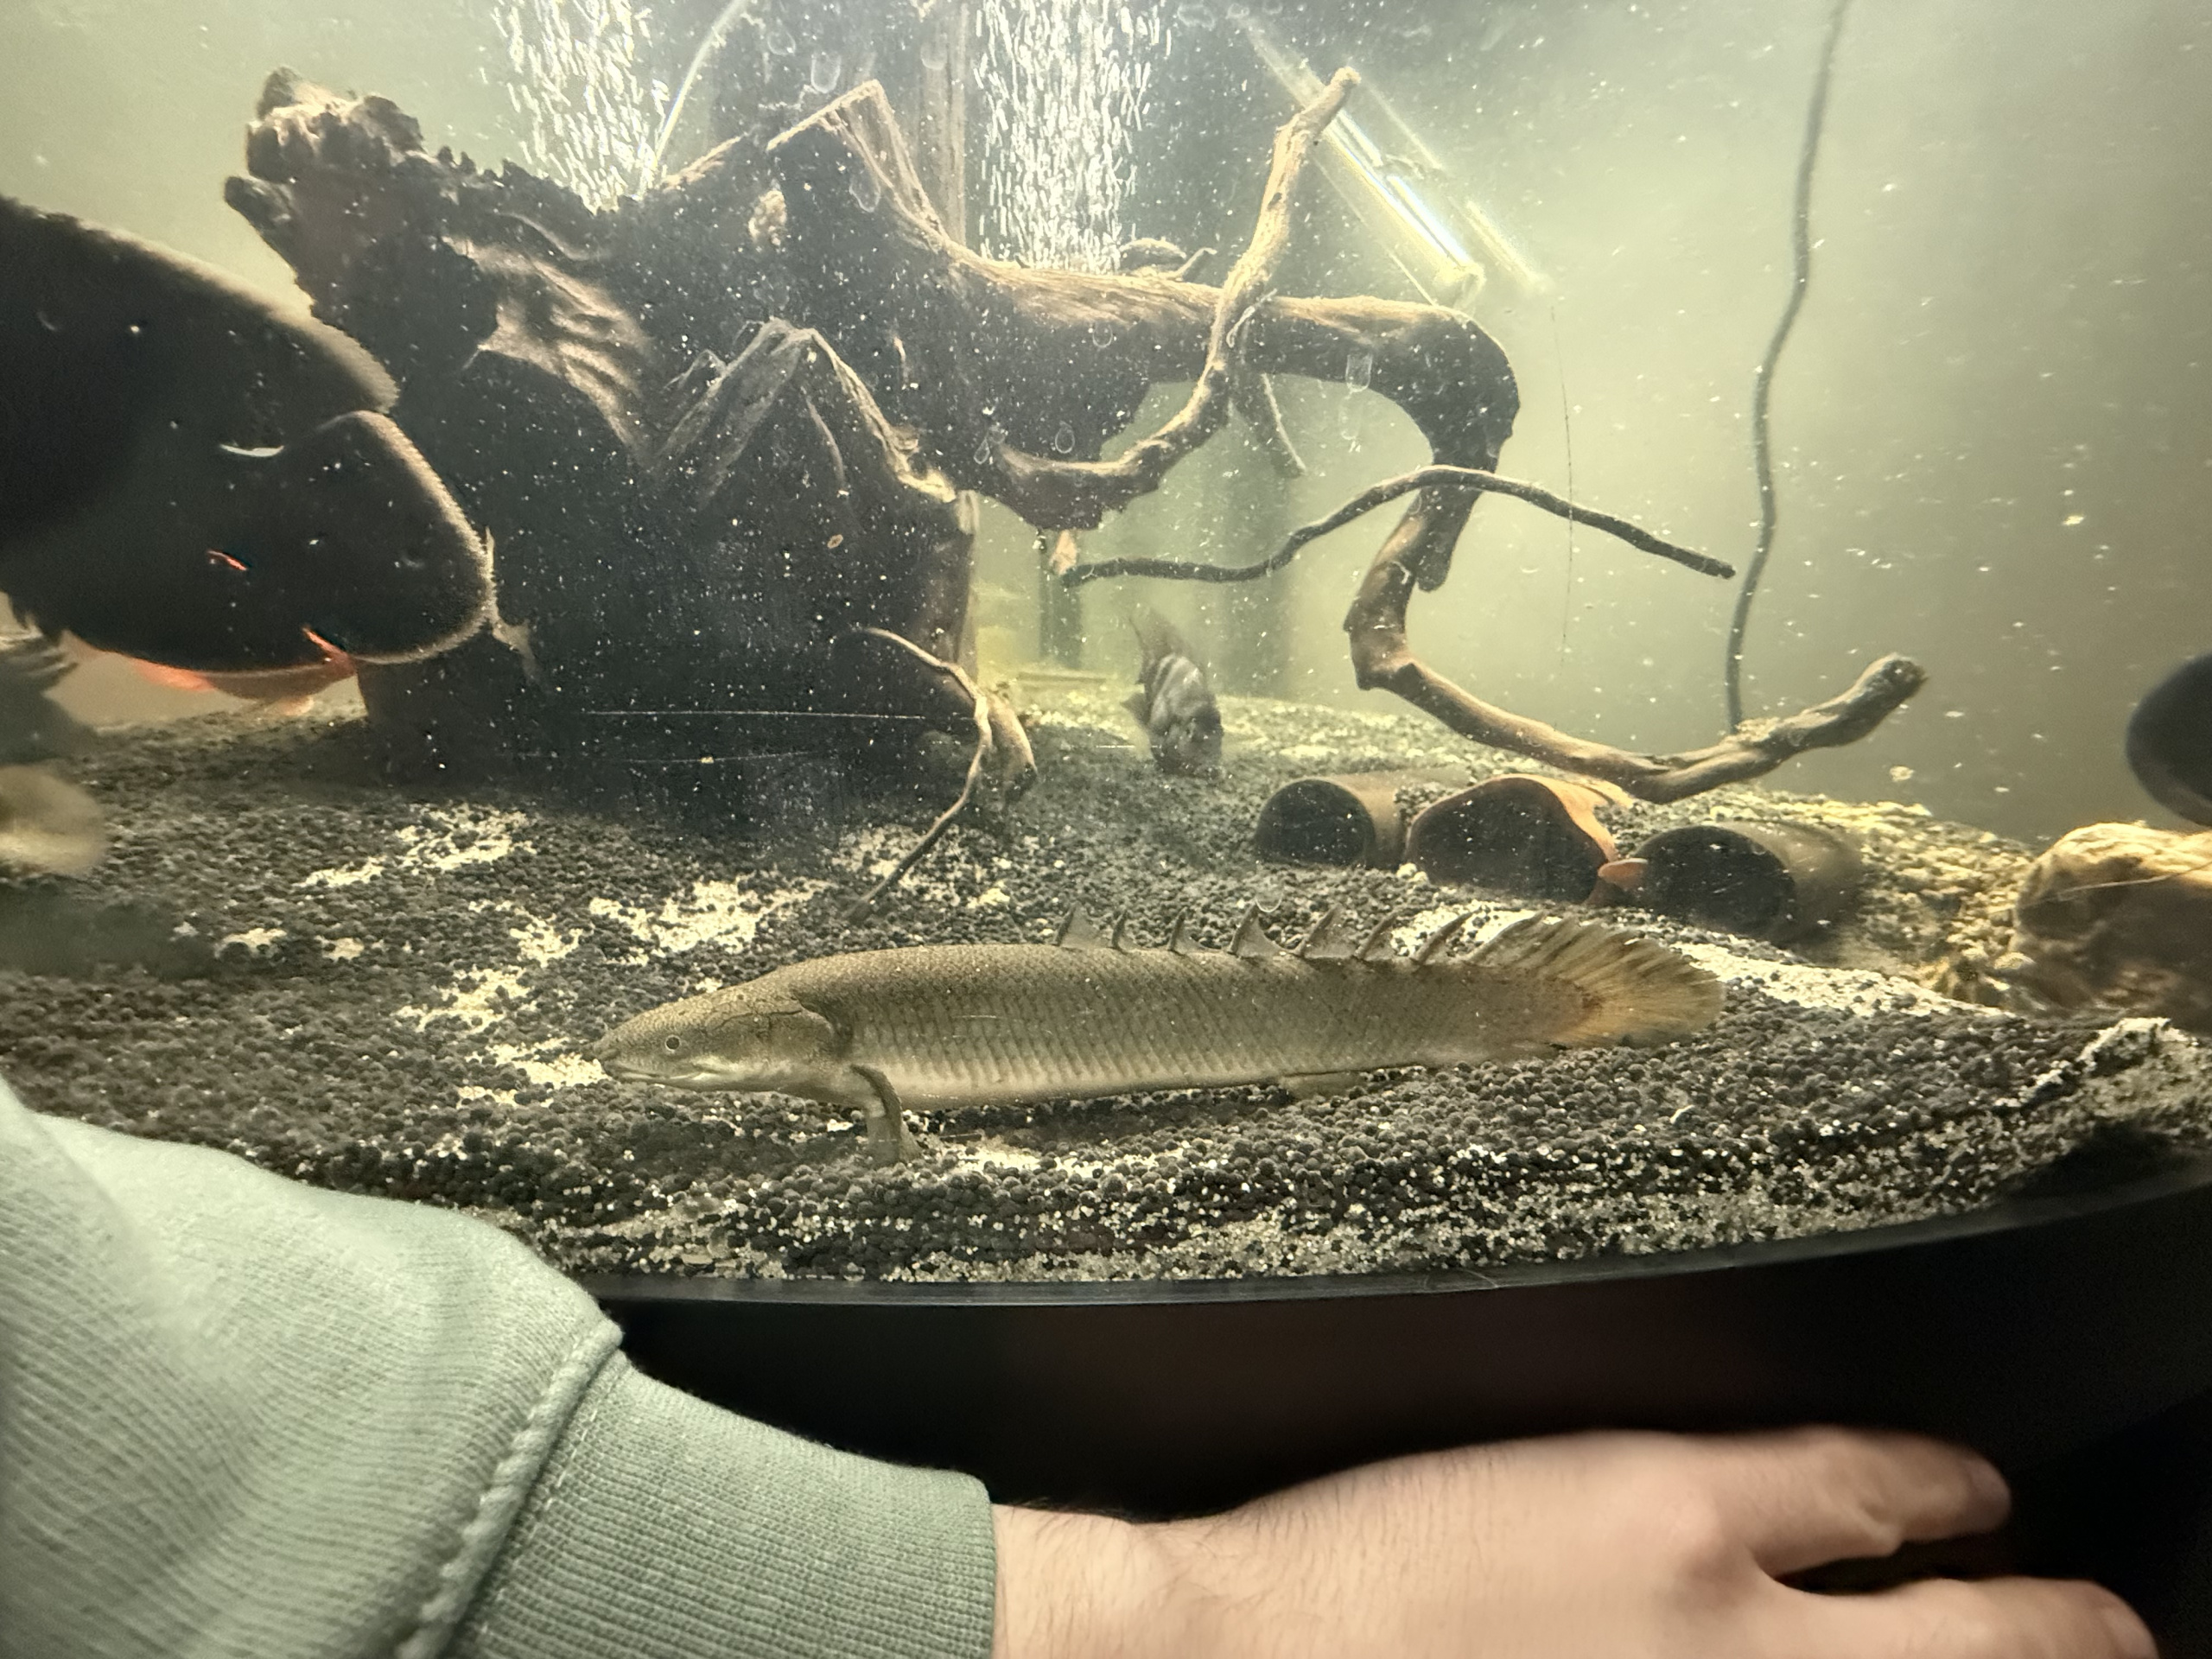
A set of 7-9 inch bichirs male and female fair will dance around your tank toget...

Large red eyed golden sevrum Call / message : +44 7985 528979

3 large Oscar’s ranging 8-11 inch’s 1- wild Oscar - 8 inch 2- red tiger Oscar -1...
.jpeg)
Mystery Snails 7x Juveniles, Purple, Blue, Magenta, Ivory. (Or Let me know prefe...
.png)


